Goodbye Snipping Tool, Hello Snip & Sketch
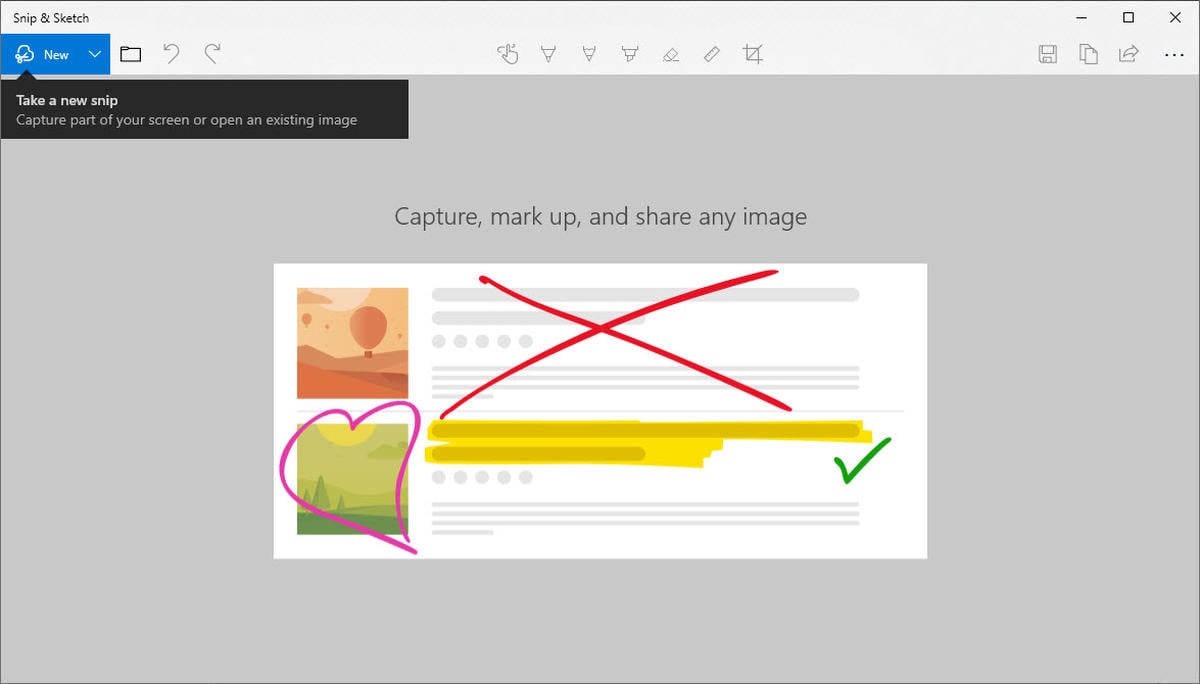
If you recently updated your Windows 10 OS or if you just switched to Windows 10, you might notice that there is a new program in town when it comes to taking screenshots. Yes, that means goodbye & farewell to Microsoft’s Snipping Tool. Don’t feel bad for the 16-year-old vet who got it’s call-up to the big leagues in 2002 during the good ol’ Windows Vista days. It has served Windows users well and has now transformed into Microsoft’s Snip & Sketch, which was released during last year’s Windows 10 update in October.
With all new things, there is change and Snip & Sketch is no different. For example, with this update, you have to open up your screenshot via your notifications tab to edit and you no longer have the quick access “open in paint”  button right in the toolbar… (Pssst, it is hidden under the menu button.)
Now let’s show you some quick commands to get you rolling.
To take a screenshot using Snip & Sketch, use Windows key + Shift + S.
You can also program your Print Screen button by following the steps below:
- Use the short key Windows key + I. This will open up your Windows Setting’s screen.
- Click on Ease of Access.
- Click on the Keyboard tab on the left menu bar.
- Scroll down and turn on the Print Screen Shortcut.
Your Print Screen button is now enabled .
In the process
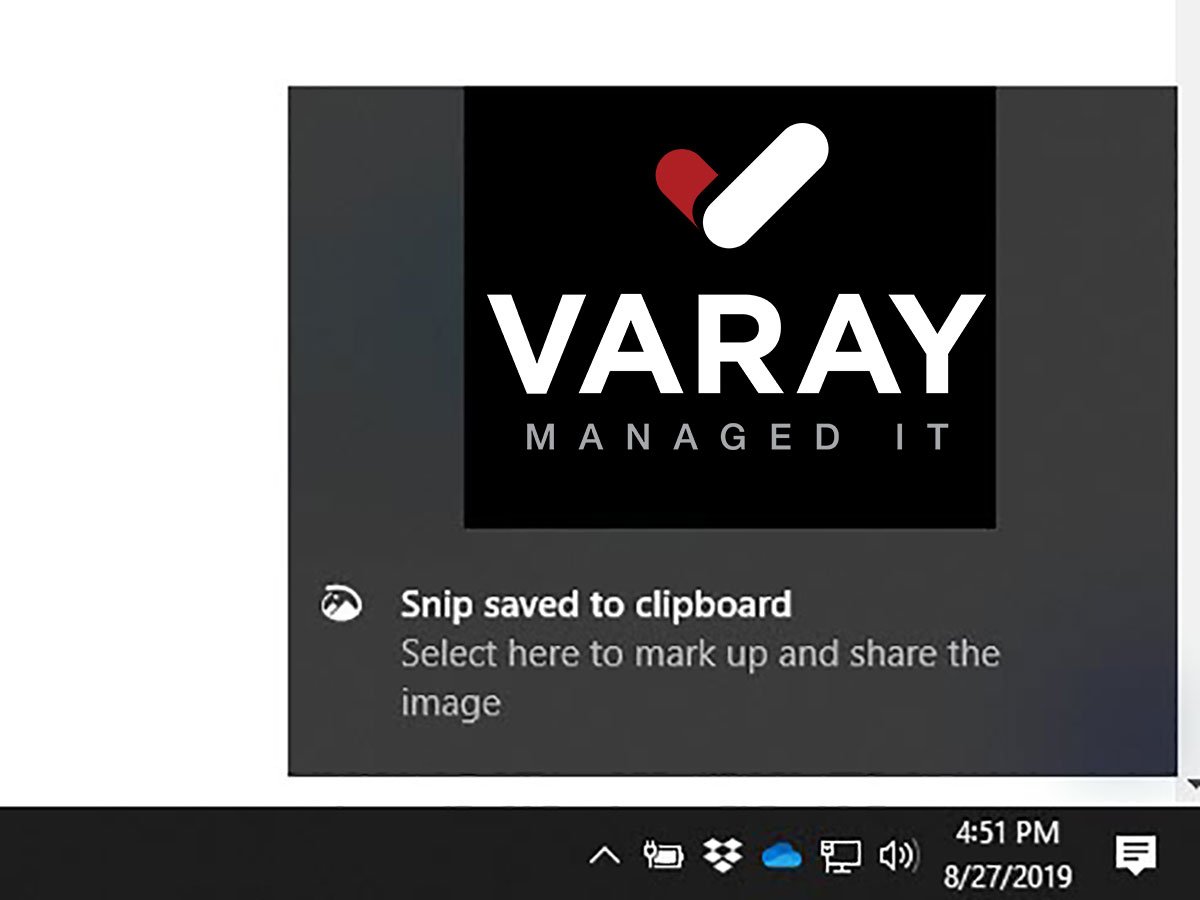
When you take a screenshot, you will notice that you get a notification with the image. Reason being, this is how you now open the screenshot to edit with Snip & Sketch.
Once you have all of your edits completed, you can now use the Copy button 
Want to unleash your inner geek and read more


